|
written & submitted by Carol Petruzzo, Carosel, USA |
|
Your Doberman Puppy is going to require regular ear tapings for quite some time. He probably won’t particularly like it, but it is a fact of life that he will get used to. You can make it easier on him by being conscientious and by using a good technique as taught here. It is extremely important to clean your puppy’s ears and let them dry before taping! Also please note that this is a reference guide, it is highly advisable that a novice Doberman owner watch and assist someone who is experienced in taping ears several times before going it alone. Their are several photos used on this page. They have been sized to fit easily on your monitor, if you would like to see a larger version for greater detail, click on any of the photos. |
Before starting you should make sure you have any and all required supplies:
|
|
|
| Preparation |
| Clean your puppy’s ears thoroughly with a canine ear cleaner or peroxide. |
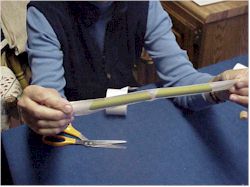
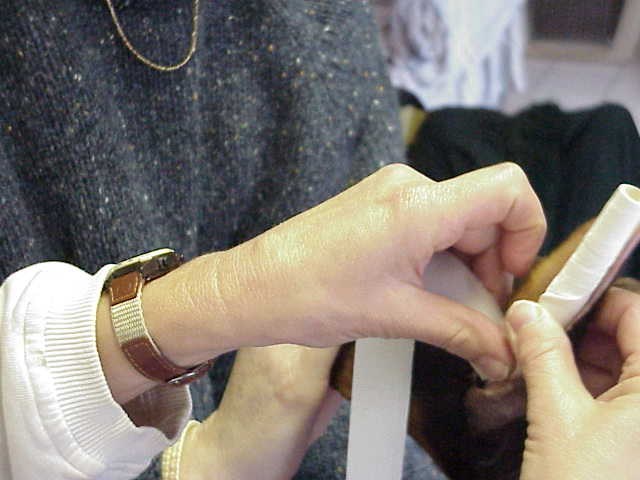
| While the ears are drying you can prepare your tampons, and your tape. Unwrap the tampons, and lay the string flat against the tampon. Then run a piece of tape around the middle of the tampon to hold the string down, and hold the tampon together in the center. |
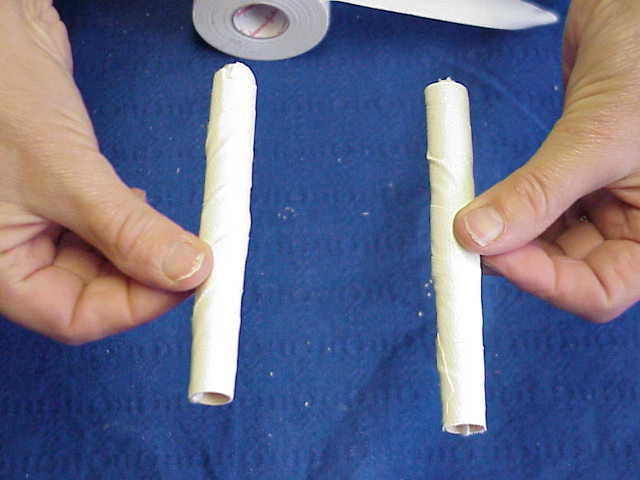
| The next step is tricky to explain, use the photos as a reference. You have to back tape the tampon, in other words, you need to wrap the tampon in tape with the sticky side out. Start at the top of the tampon, and go around it one time with tape, then flip the tape back over itself, and begin spiralling down the tampon in a pattern like a barber’s pole. |
|
|
| Next cut several pieces of tape about six inches long and place them somewhere within arms reach. |
| Now you are ready for your puppy have your assistant hold him firmly enough to keep him from squirming to much. |
|
|
|
|
| POSTING |
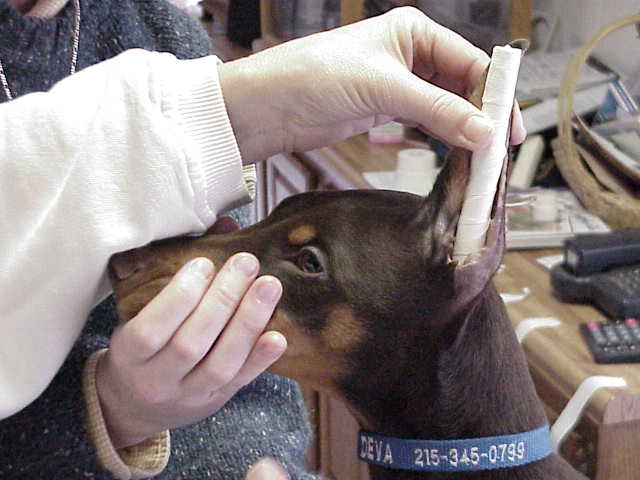
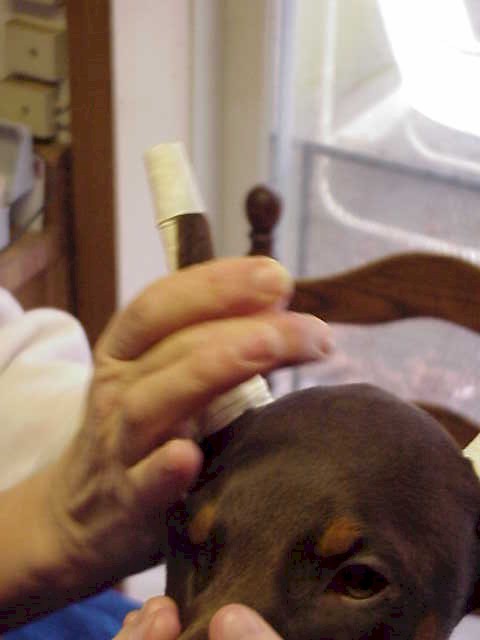
| Take one of the tampons, and insert it into the ear well as deep as it will comfortably go. Then stretch the ear and massage it onto the post |
|
|
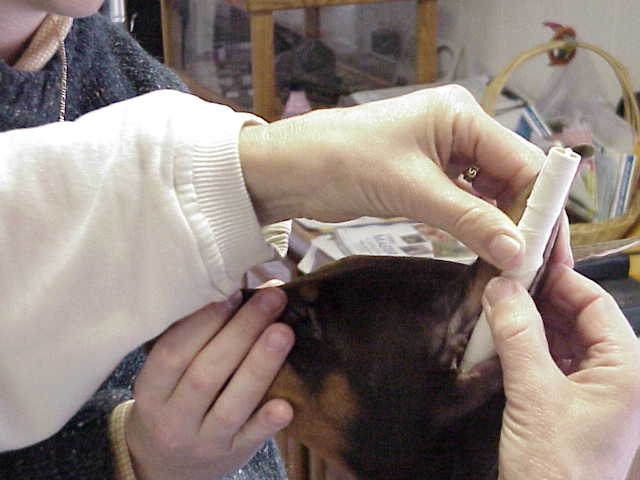
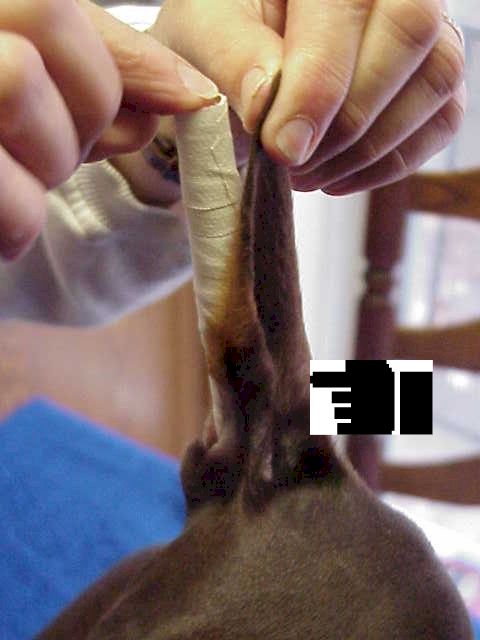
| Before going any further take note of the natural fold in the ear being pointed to in the next photo. Find this fold on YOUR puppy. This fold is very important, and lends strength to the ear. It is very important that you do not unfold this when taping the ear. Your puppy’s ears need the strength provided by this to stand properly. |
|
|
|
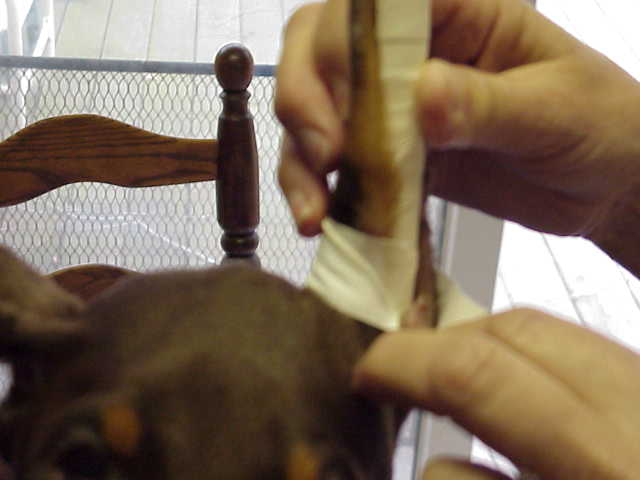
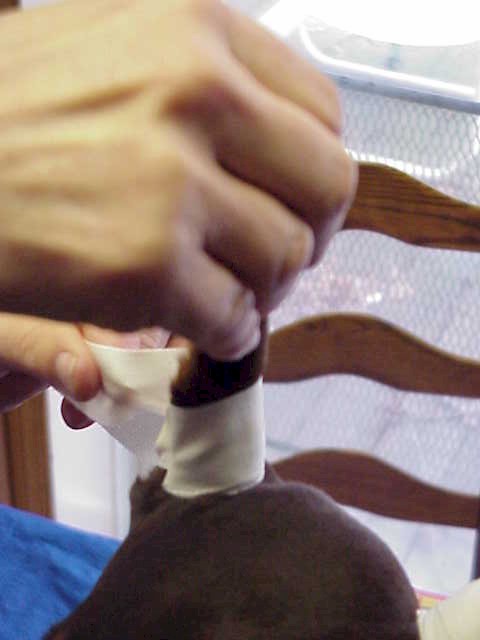
Begin taping your puppy’s ear to the post. Start as low as you can (this is important as it will keep the tampons from popping out of the ear), wrap in towards the head, and around the back as shown in the photos. Be careful not to tape to tightly, it is important that the tape makes good contact and sticks well, but it does not need to be very tight. |
|
|
|
|
| Next you will need to wrap around the top of the ear, being careful not to bend the tip, and again don’t wrap to tightly as you could cut off circulation and lose a tip. As a last step wrap your hand around the ears and gently squeeze them to make sure the tape is holding well (see photo). |
|
|
| OK, your done… well your done with one ear anyway, repeat the whole process on the other ear, and then move on to bracing the ears. |
|
|
| Bracing |
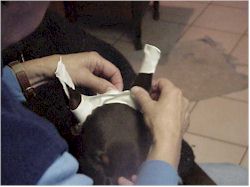
| As a last step you will need to brace the ears. Start by wrapping a long piece of tape around one of th e ears a the base of the skull, and taping the tape to itself across the top of the head (see photo). Then wrap it around the other ear in a similar fashion. The ears should be held just shy of vertical by the brace. It is important that they not be pointing in towards each other. |
|
|
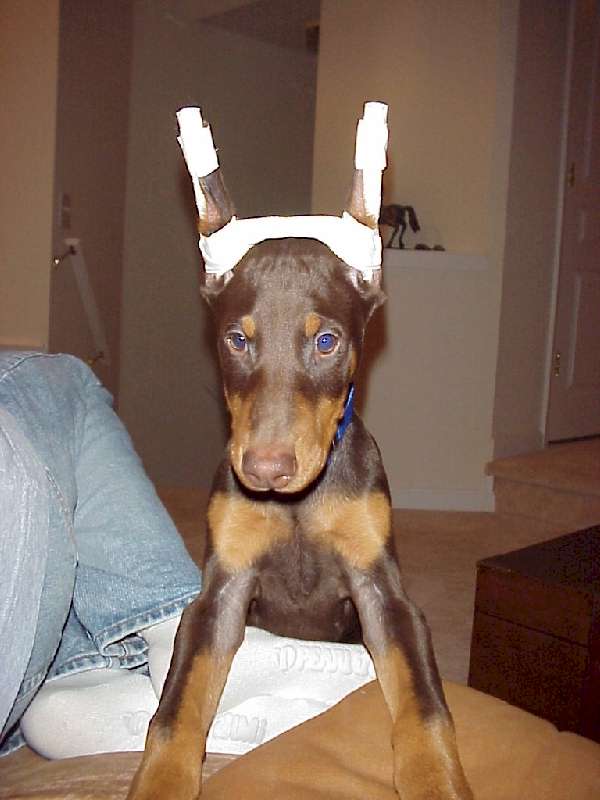
| That’s it your done! Your puppy will probably make a sad face and you will feel compelled to play with him (or in this case her). Which is fine, because isn’t that one of the reasons you have a puppy anyway? |
|
|