|
written & submitted by Carol Petruzzo, Carosel, USA |
|
Part 2 of a 2 part series covering Carol’s special techniques for older dogs with longer ears. This is a great technique for older puppies who have outgrown their tampons. It is also more durable, and as such is great if you have multiple dogs in the house, or an energetic pup who routinely breaks tampons or scratches them incessantly. |
|
This is a technique that should be used after you have been posting with tampons (see previous article) for a period of time. It is important to use tampons first as they will give shape to the ear that will lend stability and aesthetic appeal. |
Before starting you should make sure you have any and all required supplies:
|
|
|
|
|
| Preparation |
| Clean your puppy’s ears thoroughly with a canine ear cleaner or peroxide. |
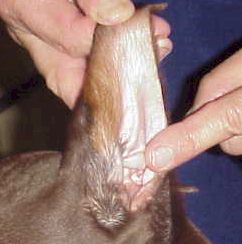
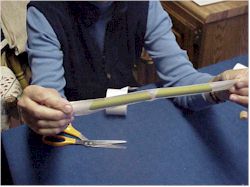
| While the ears are drying you can prepare your posts, and your tape. The first step is to measure from the nub of cartilage in your pups ear to the top of the ear (see images). |
|
|
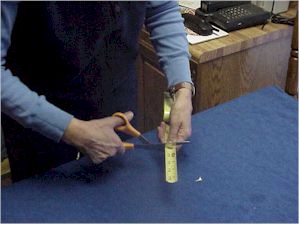
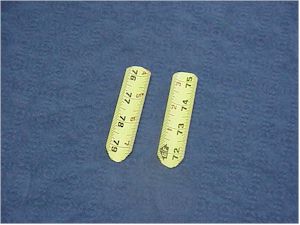
| Mark the length, and then cut two equal lengths of tape measure half an inch longer then when you measured the ears. Round off all of the sharp an potentially dangerous edges to prevent potential injury. |
|
|
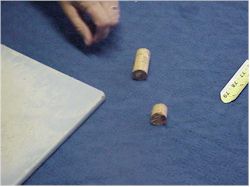
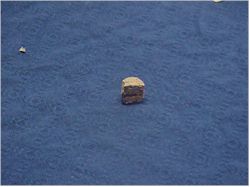
| The next step is to prepare the cork (hopefully you have finished your bottle of wine by now). Cut the cork in half twice, once lengthwise, and once splitting it down the center (see images). Again be sure not to leave any sharp edges! |
|
|
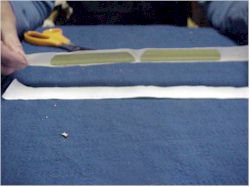
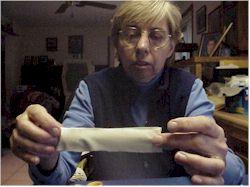
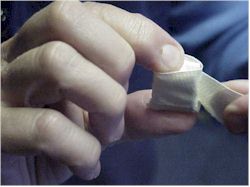
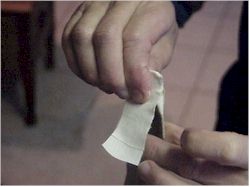
| Next take a long piece of tape, and tape it to the inner side of your two posts. Then take that piece of tape (and posts )and tape it to the back of another piece of tape (the sticky side needs to be out on the second tape). Then cut it in half between the two posts. (Thank goodness for pictures…) |
|
|
| Next wrap the pieces of cork in tape using “back taping” in the same manner as in the method. Again the sticky side needs to be out. |
|
|
| Now you are ready for your puppy have your assistant hold him (or her) firmly enough to keep him from squirming to much. |
|
|
| POSTING |
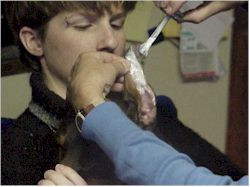
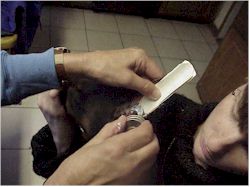
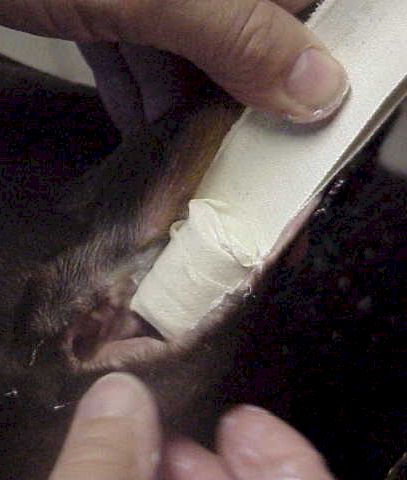
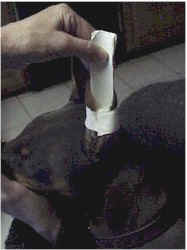
| The first step is to spread Skin Bond liberally on the inside of the ear., then stretch the ear onto the sticky side of your post, and massage it firmly onto the ear. Lastly fold the excess tape over the top of the ear (being extremely careful not to bend the tip). |
|
|
|
|
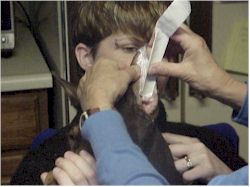
| Now you need to add the cork to the base of the post for shape. Apply some skin bond the ear, and the bottom of the post, and insert the cork so the curve is facing the ear. then wrap a piece of tape around the ear (not too tight) to both hold the cork in place, and provide some shape to the ear. |
|
. |
|
|
| One ear down one to go, repeat the process on the other ear, and move on to Bracing. |
|
|
| Bracing |
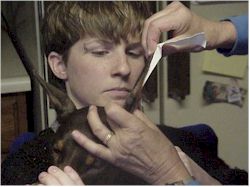
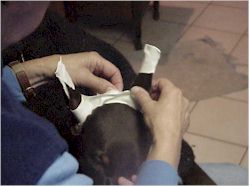
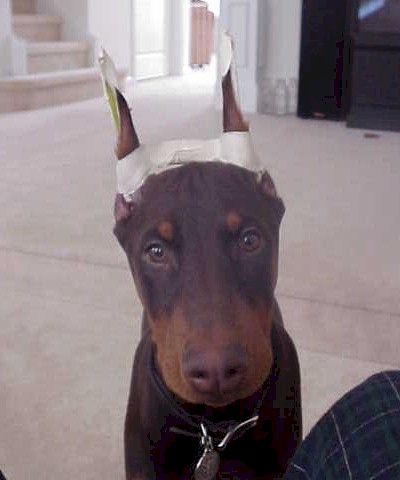
| As a last step you will need to brace the ears. Start by wrapping a long piece of tape around one of the ears a the base of the skull, and taping the tape to itself across the top of the head (see photo). Then wrap it around the other ear in a similar fashion. The ears should be held just shy of vertical by the brace. It is important that they not be pointing in towards each other. |
|
|
| That’s it your done! Your puppy will probably prefer this to the tampon method, as nothing is actually in the ear. It is also lighter and affords the pup more control of their ears then the tampons do. |
|
|

