submitted by Marj Brooks
Equipment and supplies needed.
- 1/2 or 5/8 inch-caulking rod, depending on the age of the puppy.
- Long Q-tips and/or Popsicle sticks.
- Zonas tape (Johnson & Johnson) or a good quality adhesive tape.
- Rubbing alcohol and cotton balls.
- Having someone to help is great too, but you can do this by yourself.
Clean the ears with the rubbing alcohol and cotton balls making sure that you wipe inside the shell of the ear too. Be sure that they are completely dry before you start taping.
To prepare the posts:
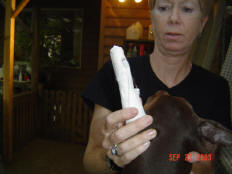
Measure ear from the bump or button to a little past the top of the ear, see photo.
Cut a piece of caulking rod to fit this measurement.
For some strength and so the post doesn’t bend you can then either use a long Q-tip and thread it through the middle of the caulking rod lengthwise or affix and tape a Popsicle stick on the outside of the caulking rod.
Tape the rod (post) sticky side out.
You are ready to tape the ears:
Place onto the ear just above and sitting on the bump/button and affix it to the ear starting at the button and stretching and holding the ear the ear up and out at a slight angle away from the head and bring ear to the top of the post. See photo.
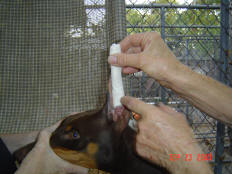
In doing this, it is important that the ear is slightly stretched to prevent pockets at the base of the ear. The brace step will also help to insure that this does not happen too.
Cut three pieces of tape, one to go around the bottom (approximately 8 inches) and a short one for the top (2 inches) and another 11/2-2 inch piece to tape the exposed edge to the post.
Starting at the bottom place the tape across the front and at the bottom of the post and the ear and pull the ear up and wrap snugly and level around the bottom with the long piece of tape. Be careful not to tape so tight that the wrapping does not cut off the circulation of the ear.
With a 2-inch piece, lightly wrap around the post and the tip of the ear at the top.
With the last piece of tape affix tape the exposed cut edge of the ear lengthwise to the post. Go to the other ear and do it the same. (click on any photo to view a larger version)
How to make the brace.
Measure brace to fit the ear and cut-caulking rod.
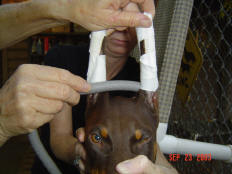
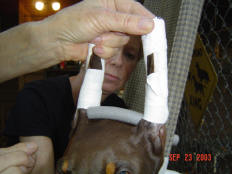
Cut a piece of tape about 10-12 inches long. Tape sticky side out.
Stretch ears straight up.
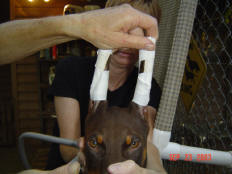
Stretch ears straight up.
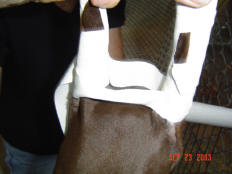
Put brace between the two pieces of tape between the ears.
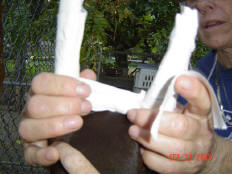
Push tape onto brace.
Starting at the front of the ear and at the bottom, stretch ear upwards and take the tape across the front of the head to the other ear and stretch it up and affix tape to the bottom of this ear and around the back and over to the place of the ear that you started with and affix, leaving the space between the ears and the tape over the head, see photo. Place the brace post on the top of the head, stretching both ears up and squeeze the tape onto the post.
Now you are ready for the next step and you are just about finished.
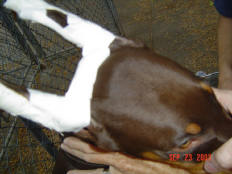
You are ready for the next step.
Cut two approximately 2-inch pieces of tape.
Affix pieces of tape to the brace snug up against each ear, see photos.
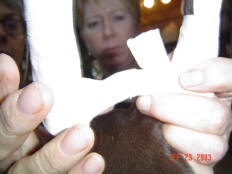
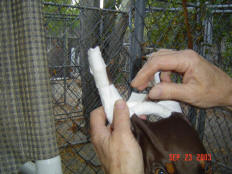
Do the same on the other side
Keep the tapes on as long as you can, approximately 1 week to 10 days.
It is important that the ears do not tilt towards each other, in fact it is better that they tilt towards the outside at the top. Keep the tapes straight and in good repair.
Remember: Every day that the ears are left to flop you will have 1 to 2 weeks of extra length of time of taping ahead of you. So when you take th
em down between taping, you can let them air until they are not standing straight up. The moment that they are not standing perfectly and correctly, re-tape then again. At first you may be re-tape within a few minutes.
Feel free to call and ask questions if you need to.
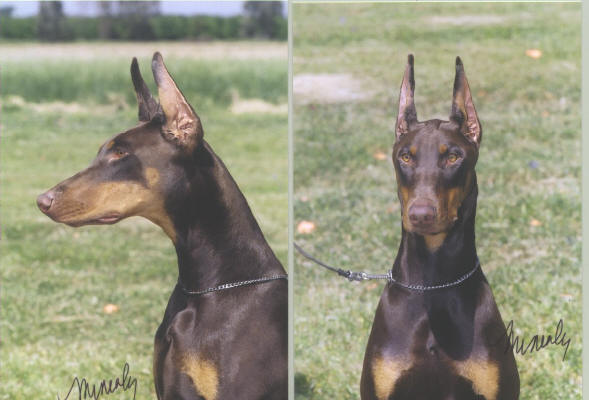
Your goal:
